
Quickstart
Get started with BrowserPod in minutes: get a free BrowserPod Edge key, then start from a template or add BrowserPod to a web app you already have.
Get a Pod running in your browser in a few minutes. Start with a key, then either scaffold a new project from a template, or add BrowserPod to a web app you already have.
1. Get a free BrowserPod Edge key

BrowserPod Edge connects your Pods to the internet, so everything works: npm, GitHub and the other allowed domains without CORS limits, and Portals, which give servers running in your Pod a public URL. It’s free for up to 1,000 connected hours every month.
To get a key, sign in at https://console.browserpod.io with your GitHub account and create an API key.
You can also continue without a key: Pods still run, with networking through the browser. See Networking for the differences.
2. Start from a template
Scaffold a project:
npm create browserpod-quickstart@latestThe CLI asks you to pick a template, name your project, and paste your API key. You can add or change the key later in .env.
| Template | What it runs |
|---|---|
| Basic | The Node.js REPL |
| Bash shell | An interactive bash shell |
| Web server | An Express server, with a live preview through a Portal (needs BrowserPod Edge) |
Install the dependencies and start the dev server:
cd <your-project-name>npm installnpm run devOpen the address it prints, for example http://localhost:5173/:
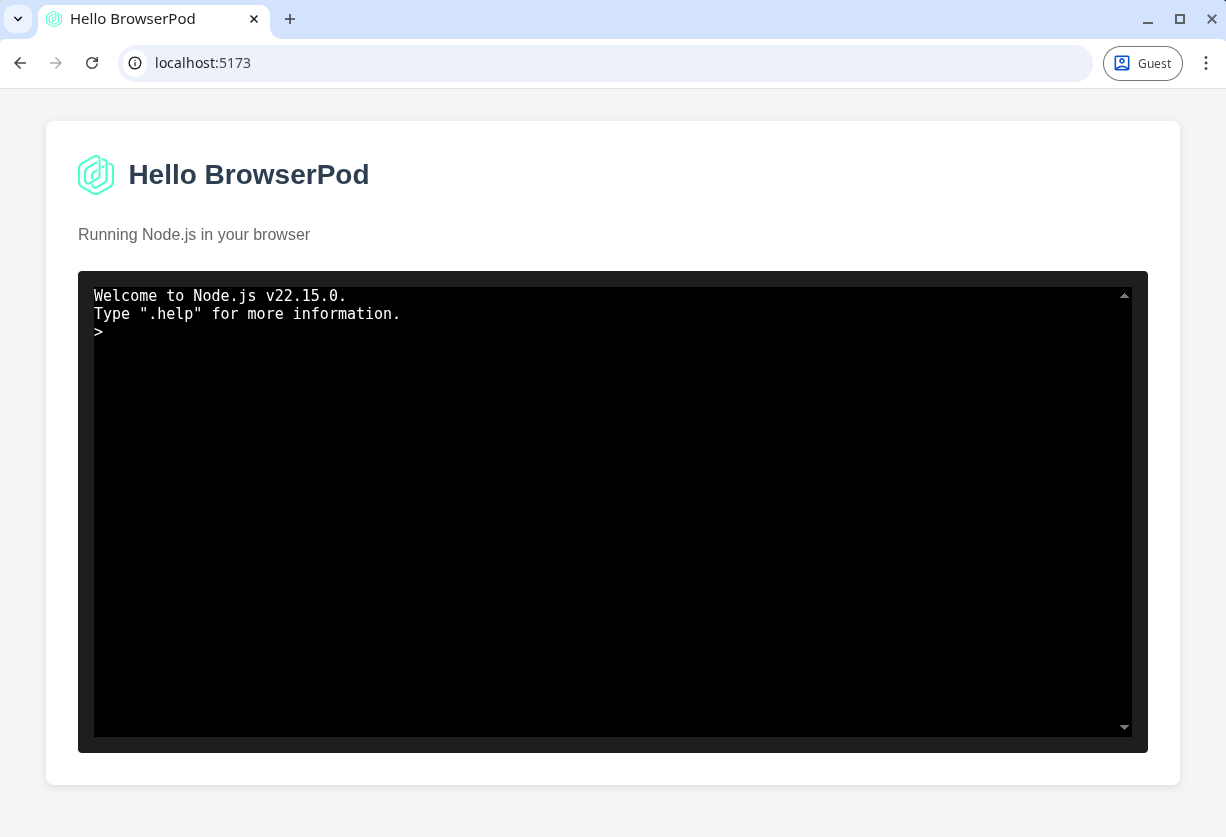
Your Pod is running. Edit src/main.js to change what it runs; the dev server reloads the page as you save.
Skip the prompts
Pass options to the command. npm needs a -- before them:
npm create browserpod-quickstart@latest -- my-app -t vite-basic -k <your-key>| Option | Description |
|---|---|
<project-name> | Name of the project folder |
-t, --template <name> | Template: vite-basic, bash or vite-web |
-k, --api-key <key> | API key to save in .env |
--non-interactive | Fail instead of prompting for missing values |
-h, --help | Show all options |
Or add BrowserPod to an existing app
1. Install the package
npm i @leaningtech/browserpod2. Serve the page cross-origin isolated
BrowserPod needs the page to be cross-origin isolated. With Vite, add the two headers to vite.config.js:
import { defineConfig } from "vite";
export default defineConfig({  server: {    headers: {      "Cross-Origin-Embedder-Policy": "require-corp",      "Cross-Origin-Opener-Policy": "same-origin",    },  },});
For other servers and for production, see Serve your page cross-origin isolated.
3. Boot a Pod and start a shell
Add an element for the terminal:
<div id="console" style="height: 400px"></div>Then boot a Pod with your key, and run bash in the terminal:
import { BrowserPod } from "@leaningtech/browserpod";
const pod = await BrowserPod.boot({ apiKey: "your-key" });const terminal = await pod.createDefaultTerminal( document.querySelector("#console"));await pod.run("bash", [], { terminal });bootstarts a Pod. With an API key it boots on the Edge network; without one, on the browser’sfetch().createDefaultTerminalshows a terminal in the element you pass.runruns a program in the Pod, here an interactive bash shell.
Keep the key out of your source code: see where to store the API key.
Next steps
- Run code an agent writes: Write files to the Pod and Run programs in a Pod.
- Build an in-browser IDE or playground: the npm project tutorial installs a project’s dependencies, starts its server and previews it through a Portal.
- Run your own compiled programs: Installing the Rust toolchain.
- Look up an API: the API reference.
If something doesn’t work, see Debugging BrowserPod, the FAQ, or ask on Discord.